Feature Flags in Python Flask
Feature flags enable a powerful continuous delivery process and provide a platform for progressive delivery with phased rollouts and A/B tests.
However, building a feature flagging system is usually not your company's core competency and can be a distraction from other development efforts.
In this step-by-step lab, you'll see how to integrate feature flags into your Python Flask application with a free version of Optimizely, Optimizely Rollouts.
Pre-requisites
Steps
1. Create a Python Flask Application
If you already have a Python Flask application feel free to skip to step 2. Otherwise, follow the instructions to install a new Python Flask application:
Create a directory for the application on the command-line of a terminal with:
mkdir myproject
Change to the newly created directory:
cd myproject
Create a virtual environment with:
python3 -m venv venv
Activate the environment:
. venv/bin/activate
Install Flask:
pip install Flask
Create a file named main.py and paste the following contents in it:
from flask import Flask
app = Flask(__name__)

@app.route('/')
def hello_world():
    return 'Hello, World!'

if __name__ == '__main__':
      app.run(host='0.0.0.0', port=5000)
Run the application from the command-line with:
python main.py
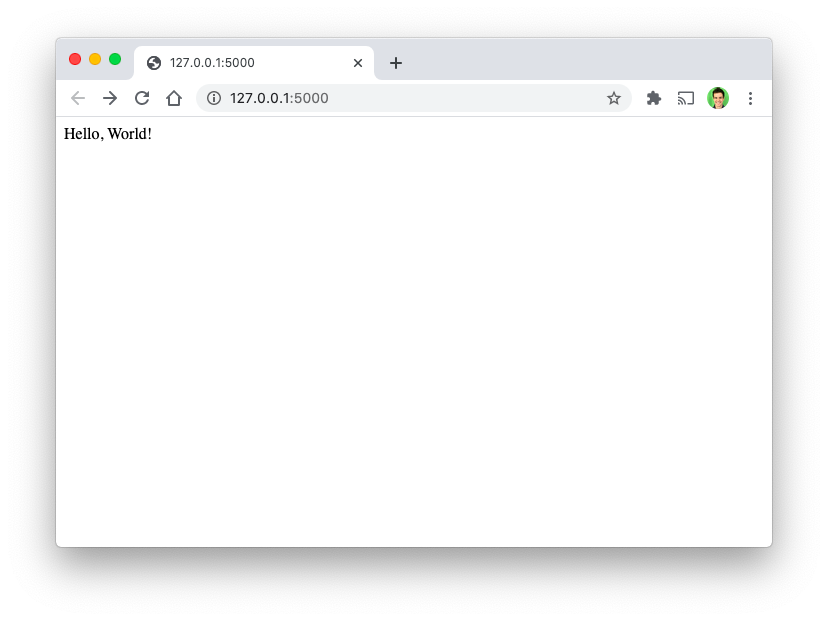
Open a browser to see your server running at http://127.0.0.1:5000/ with the message "Hello World!":
2. Setup the Feature Flag Interface
Create a free Optimizely Rollouts account here.
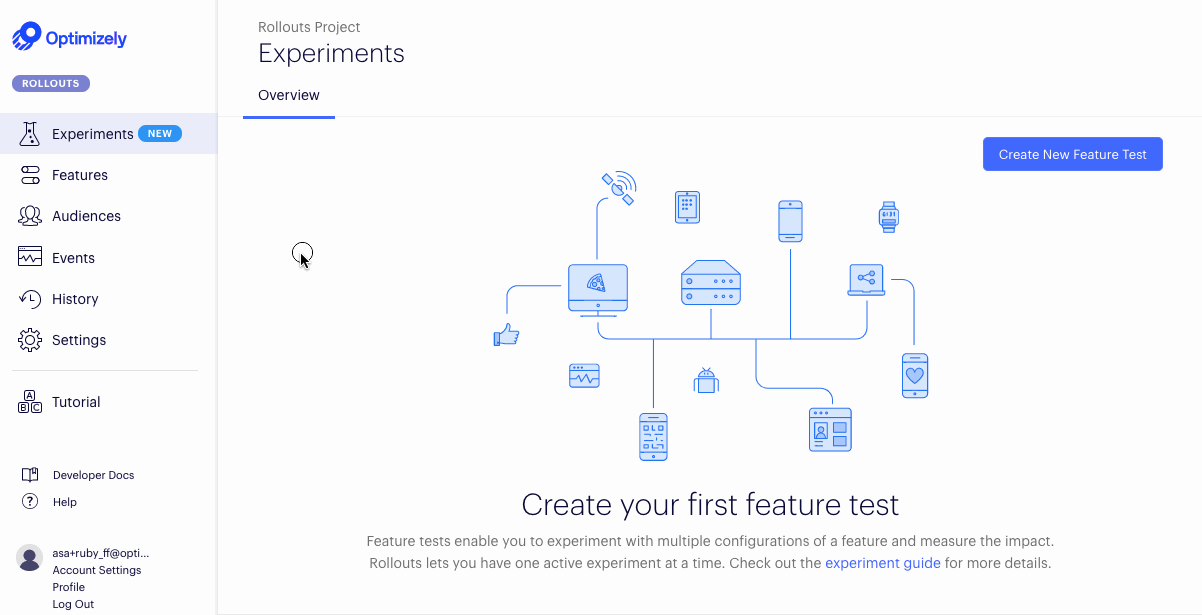
In the Rollouts interface, navigate to 'Features > Create New Feature' and create a feature flag called 'hello_world':
To connect your 'hello_world' feature to your application, find your SDK Key. Navigate to the far left 'Settings' > 'Environments' and copy the Development SDK Key value.
3. Install the Optimizely Python SDK
The Python SDK allows you to setup feature toggles from within your codebase.
Install the SDK from the command-line with:
pip install optimizely-sdk
Create a new file optimizely_singleton.py in the root of your new application. If you followed the instructions above, the optimizely_singleton.py file should be in the same directory as main.py.
Import the SDK and initialize a singleton instance of the Optimizely SDK by placing the following code in your new optimizely_singleton.py file (be sure to replace <Your_SDK_Key> with your actual SDK key):
# optimizely_singleton.py
from optimizely import optimizely
from optimizely.config_manager import PollingConfigManager

sdk_key = '<Your_SDK_Key>'
config_manager = PollingConfigManager(
    sdk_key = sdk_key,
    update_interval=10
)

optimizely_client = optimizely.Optimizely(config_manager=config_manager)
The above code initializes Optimizely to poll for changes in feature flags and experiments every 10 seconds. The reason
we place this code in an optimizely-singleton.py file is so that you can import this file anywhere you want in your
Flask application and it will point to the same instance of Optimizely.
Require the Optimizely singleton instance in your Flask application by adding from optimizely_singleton import optimizely_client in main.py:
# main.py
from flask import Flask
app = Flask(__name__)

from optimizely_singleton import optimizely_client

@app.route('/')
def hello_world():
    return 'Hello, World!'

if __name__ == '__main__':
      app.run(host='0.0.0.0', port=5000)
4. Implement the Feature Flag
To implement your 'hello_world' feature flag, use the is_feature_enabled method on the optimizely client instance:
    enabled = optimizely_client.is_feature_enabled('hello_world', 'user123', {
        'customerId': 123,
        'isVIP': true,
    })
    return 'Feature flag is ON!' if enabled else 'Feature flag is off ... :('
Note that is_feature_enabled takes three parameters. The first is used to identify the feature you created in the Optimizely application. The next two are associated with visitors to your application:
- userId: a string used for random percentage rollouts across your users. This can be any string that uniquely identifies a particular user. In this case,
user123is just a hard-coded example of what might come from your user table database. - userAttributes: a dictionary of key, value attributes used for targeting rollouts across your users. In this case,
customerIdandisVIPare just examples.
To read more about the API and its parameters, see this documentation page.
Your full code in main.py should look like the following:
# main.py
from flask import Flask
app = Flask(__name__)

from optimizely_singleton import optimizely_client

@app.route('/')
def hello_world():
    enabled = optimizely_client.is_feature_enabled('hello_world', 'user123', {
        'customerId': 123,
        'isVIP': true,
    })
    return 'Feature flag is ON!' if enabled else 'Feature flag is off ... :('

if __name__ == '__main__':
      app.run(host='0.0.0.0', port=5000)
5. Turn the Feature Toggle on!
If you save and re-run your application now, you'll notice that you did not get the feature. This is because the feature is not enabled, which means it's off for all visitors to your application.
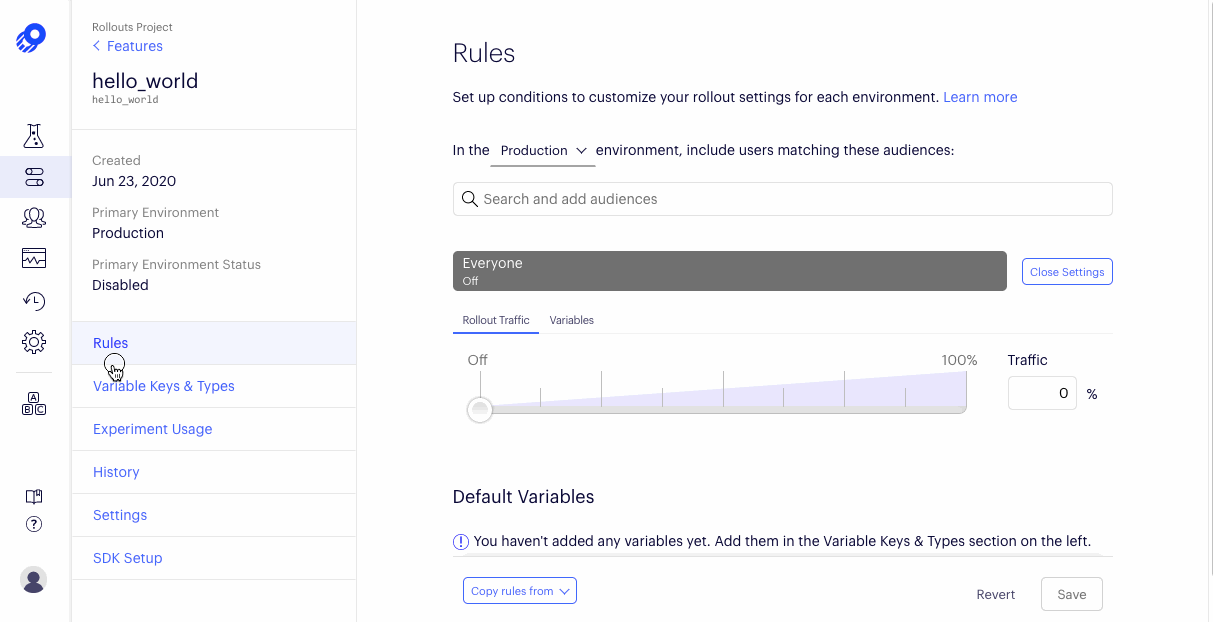
To turn on the feature:
- Log-in to the Optimizely project where you made your hello_world feature
- Navigate to Features
- Click on the 'hello_world' feature
- Change to the 'Development' environment to match the SDK Key we used
- Roll the feature out to ensure it is set to 100% for everyone
- Click Save to save your changes

In less than 1 min, refreshing your Python app should now show the feature toggled on and you should see "Feature flag is ON!".
Congrats! You've implemented a feature flag in a Python Flask application. Hope you've enjoyed this lab!